
I guess wife’s never going to get me one of those big green egg smokers. Not even for my birthday. I was googling around for a cheaper substitute and stumbled across Alton Brown’s terracotta smoker and couldn’t get to the hardware store fast enough.
The concept is similar to the many Kamado smokers out there. It’s a clay smoker that holds heat and smokes food and this ghetto-fabulous version can be made for about $75 but a better version for a little more money is at this link
Here’s the list of stuff you will need for the cheap version:
- Two terracotta pots. Most home centers have these or look for some guys selling them on that abandoned lot on the corner of main street.
- 1100-Watt Hot plate
- 2″ Thermometer
- Furnace Cement
- Weber BBQ Grate
- 4″ BBQ Grill, Smoker or Pit Damper
- Pot feet. Most garden places have them.
- Masonry bits. I used 1/2″ for the vent holes.
The hardest part is finding two pots that match up to hold in the smoke. A common combo is a big terracotta pot and something like an azalea pot which is short and wide for the lid, or a saucer. I found a perfectly matching saucer used to sit under a pot and it fit nice and fine on the 18″ pot from the garden center. I bought one of those Big Green Egg dampers form the local BGE dealer instead of the flat damper. The weber 17″ grate fits right above the lip near the top of the pot. There’s room under the 17″ grate for a 15″ grate if I want to do some double-decker smoking.
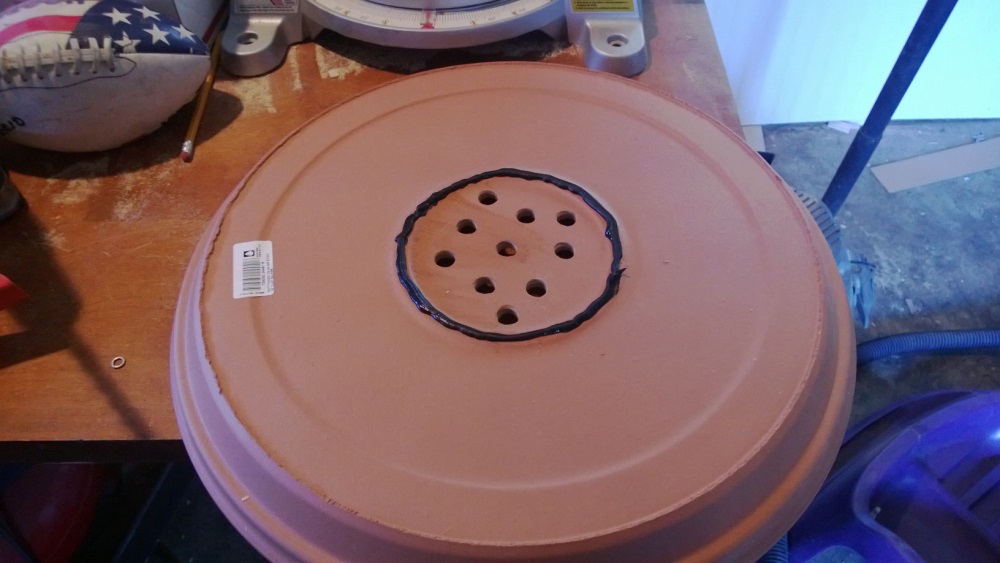
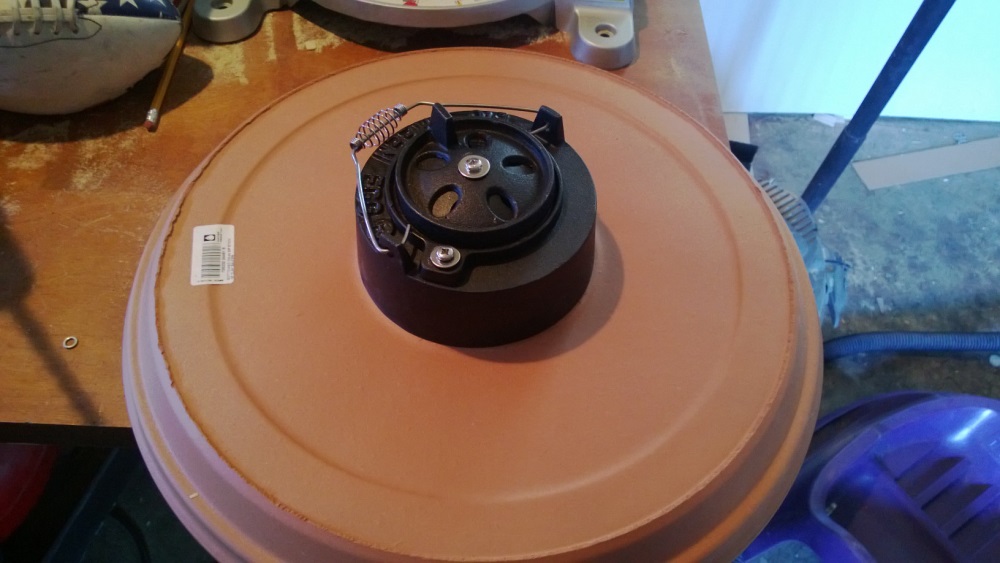
I started with the lid. Drilled a bunch of 1/2″ holes and as luck would have it, the ring on the lid matched up perfectly with the BGE damper. I cemented it into place with the furnace cement. A plain flat damper can just go on with a nut and bolt through a drilled hole. If you are really cheap, a rock over a hole would probably work fine.
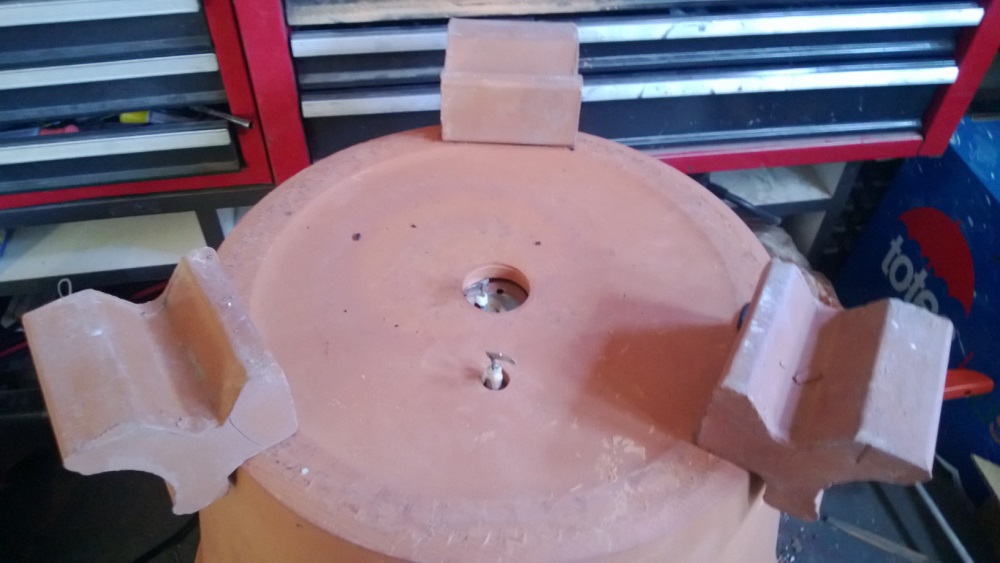
I added the thermometer and cemented it into place too. Make sure not to get a thermometer that extends below the bottom plane of the lid or you will wind up setting the lid on something and breaking it.
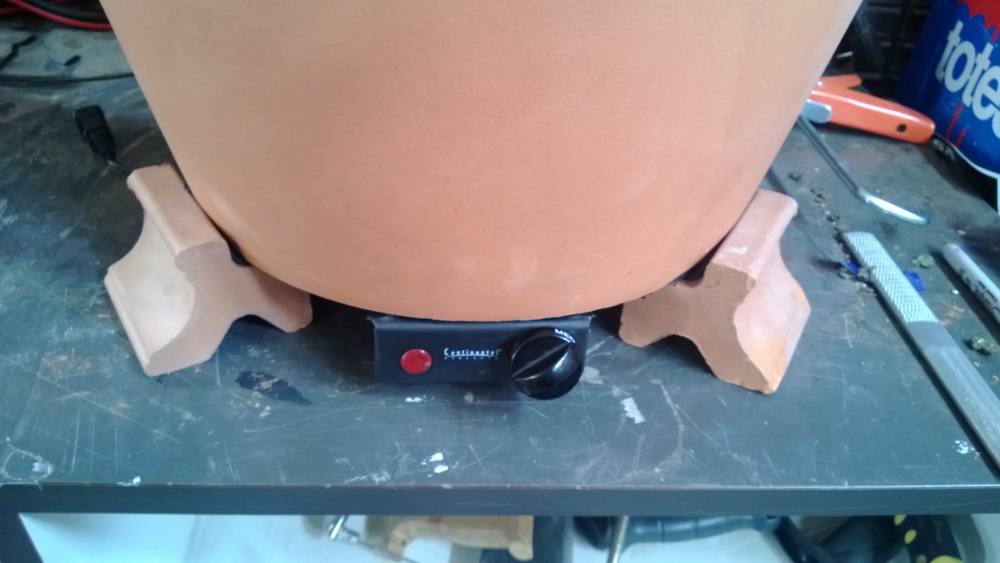
Next I drilled one extra hole in the bottom of the main pot for one of the legs of the element. I furnace cemented the element and its little drip pan into the bottom of the pot and positioned it so the legs of the element did not touch the pot. I also glued the little pot feet into place. You can also just use bricks to keep the pot off the ground but I wanted something that stayed attached when I moved the pot around and protected the wiring.
The hot plate I bought had a little light and adjustment knob and I wanted to retain all of that. I didn’t want the whole hot plate in the pot because I wanted access to the controller, didn’t want to melt the plastic plate assembly and wanted the the lower element height to allow for a lower second grilling grate in the pot. I cut the a/c line mounting area so it left a little tab I could cement to the pot. I cemented that and the little metal face for the light and knob into place. I used globs of furnace cement to hold the wiring in place so they wouldn’t droop, touch each other or the pot and let it all setup overnight. The globs cure rock hard in about 24 hours. Did i mentioned Furnace cement is my new favorite thing? It is meant to repair leaks in furnaces or BBQs but it glues metal, stone and plastic to each other like a champ.
I’m sure this wiring is not UL approved.

Flipped over, looks acceptable.
So as a test I fired it up with a pie plate of chips on the element and tested it out to make sure it would smolder the chips, hold heat at smoking level, not burn the house down or trip any breakers.
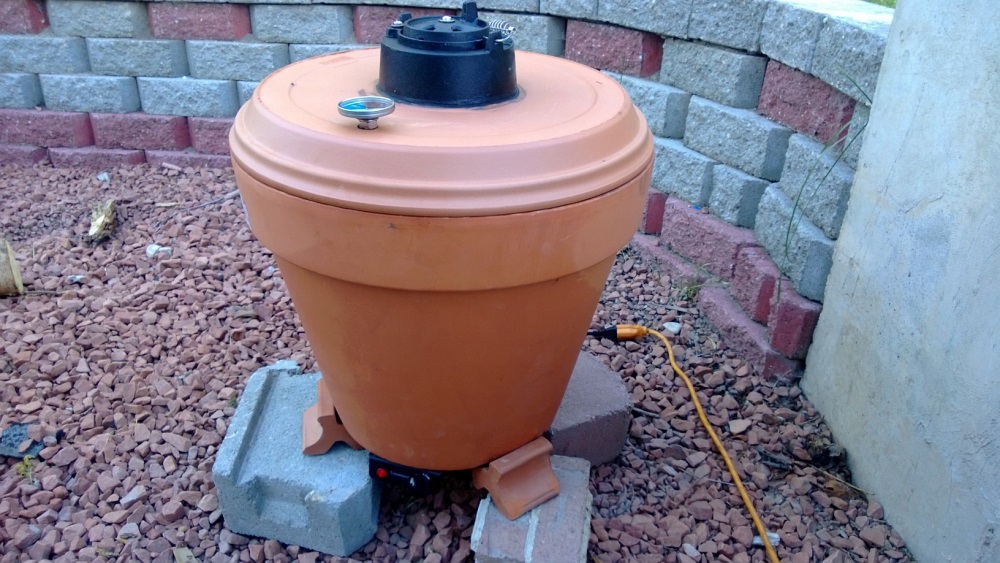
So far so good! it warmed right up to 250 on the low side of the medium setting and the relay cycles appropriately. The chips started smoking and while the inside is holding at 250, the outside is only very warm to the touch. My bratlets won’t burn their skin if they touch it while cooking. The lid and damper don’t leak! I will add handles to make removing the lid easier.
I will make up a little pie plate drip pan and possibly add a lower vent hole and cook something this weekend!
can a hot plate rated 750w instead of 1000w
I am sure it will be fine
Hi I have a question for you about your smoker setup. Does the handle on the damper function as a handle for the entire lid piece? Does the furnace cement have a good enough hold that I wouldn’t have to worry?
Thanks, I love your setup. Will be making it this weekend!
Cheers,
Lloyd
Hello, I would not use the damper handle as a whole lid a handle, I would add some cheap metal handles from Home depot like I have at the improved version. http://www.cooklikeaman.com/bbq/improved-terracotta-diy-smoker/
Otherwise you judt grab the side edges with an oven mitt.